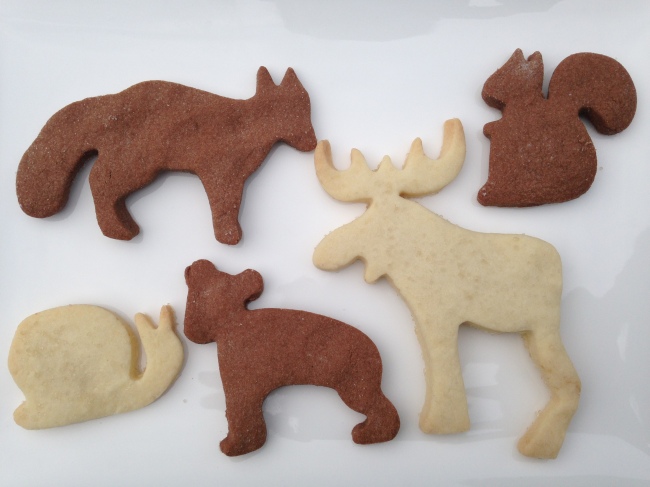
My stock of shortbread has run out in the freezer – DISASTER!! I used my last ones as a base for a free-from cheesecake (which I can share the recipe for) and now, we have friends coming over for coffee tomorrow and no quick snacks to whip out for the adults and the kids, too. So, today, the daughter and I had a baking session. We made one batch of regular shortbread, which she calls ‘the yellow ones’ and a chocolate version – which is her favourite…one poor mermaid biscuit barely made it to be fully cooled before being gobbled up!
I’m always collecting new biscuit cutters to make our biscuits stay interesting, despite us making them so often. I got the northern hemisphere animals cutters from Ikea last Christmas and they have been a huge hit. The magical, sea, horse, and fairy ones I have collected locally from cake decorating shops and homeware shops. My son has trains, cars and planes as his preferred shapes…but I think this ‘Room on the Broom’ style magic wand will entice him. Let me know how you get on with the recipe. I’m sure other flours such as buckwheat and millet could be used instead of the rice flours; also, if tapioca is a problem then perhaps try potato flour.
Ingredients:
- 100g white rice flour
- 100g brown rice flour
- 80g tapioca flour/arrowroot flour
- 1 tsp guar gum
- 90g caster sugar
- 185g suitable margarine
- Some raw sugar to sprinkle over the biscuits before baking
Method:
- Line baking tray with baking paper & spray with oil (rice bran oil or olive oil – be sure to check they are allergen free)
- Add sifted flour, guar gum and sugar into a large bowl and stir through – Optional extra (put 1-2 Tablespoons of Cacao powder into the flour mix to make chocolate shortbread – my daughter loves this variety)
- Add margarine and rub through with your fingers until mixture can be squeezed together to form a ball (adjust with a sprinkle more flour if too sticky)
- Flour a chopping board or pastry mat with a sprinkle of white rice flour
- I use my fingers and palms to push this mixture out flat onto a floured soft plastic chopping board. Cut out desired shapes and place on tray for baking. – Optional extra – sprinkle with raw sugar before baking if you desire sugar coated biscuits
- Bake in oven (180 degrees Celsius fan forced) for 12 – 15 minutes (depending on how small you cut your biscuits, smaller shapes will cook quicker)
- Leave to cool of the tray for 5-10 minutes before transferring to a wire rack to finish the cooling process (if you move them too quickly they can break)
- Store in airtight containers. These biscuits freeze well and make a great addition to a spontaneous coffee afternoon or lunchboxes.
If you give this recipe a try please let me know how it turns out, I’m happy to troubleshoot or discuss how you could substitute these ingredients if some of the ones I’ve used aren’t suitable to your family’s sensitivities.

