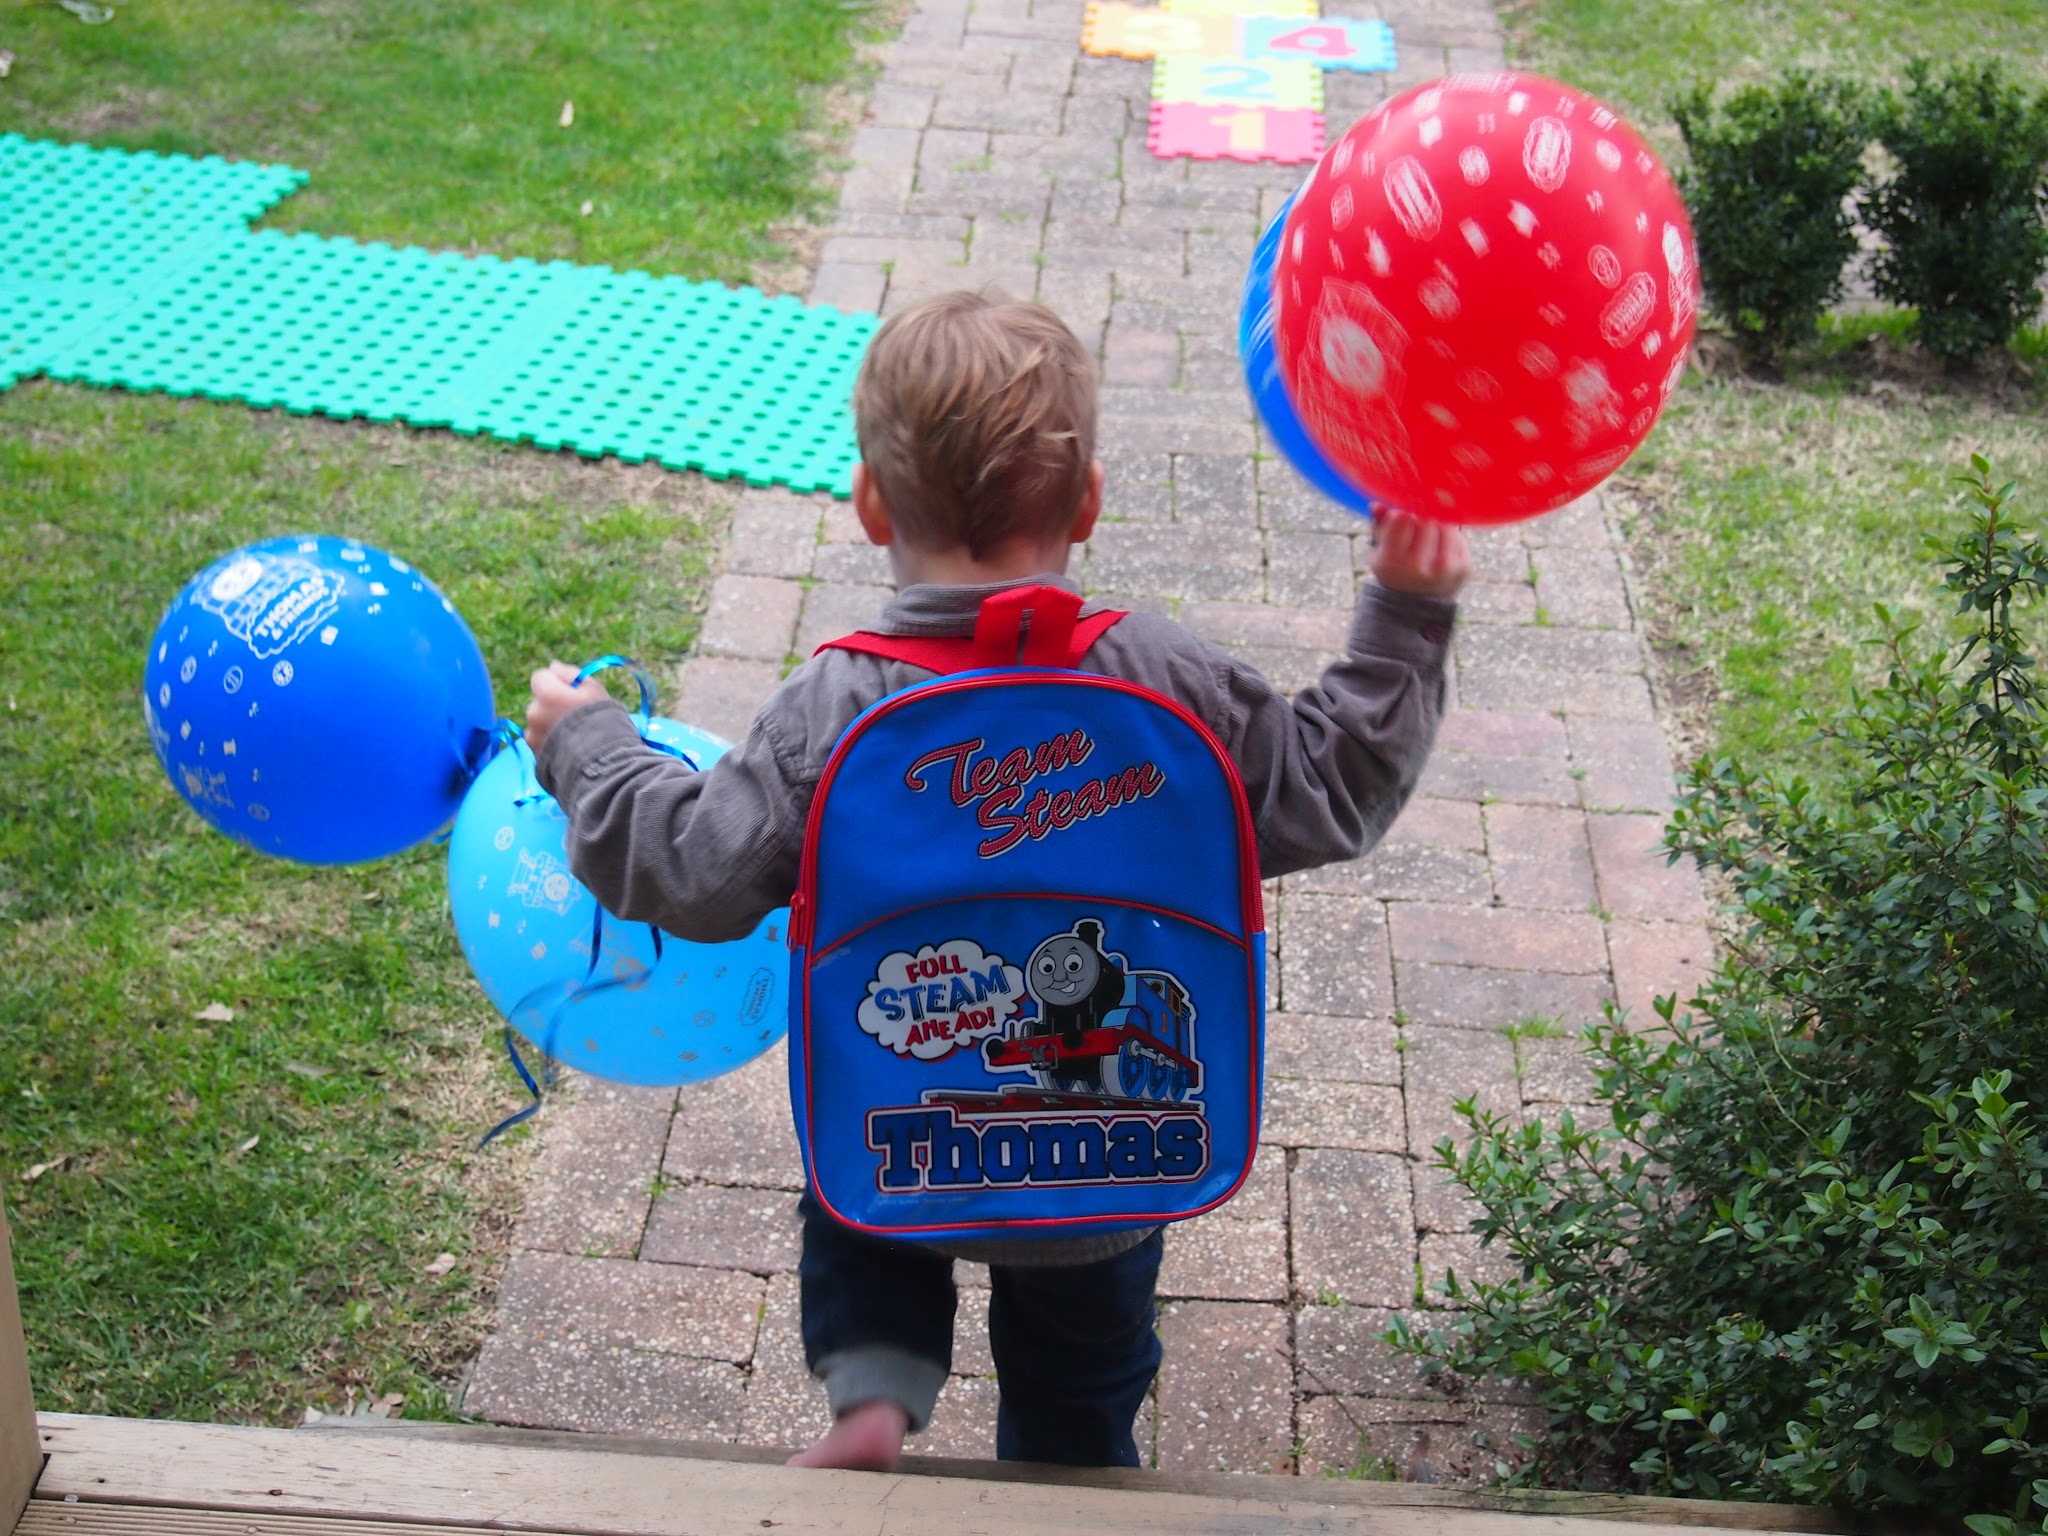
My son’s 4th birthday party this year was inspired by Thomas Trainsformers…a crazy mash up of Thomas the Tank Engine and Transformers (check out the cartoon on YouTube). I decided to make a cake for the party based on the symbol for Trainsformers. My son and I did some sketches to plan the cake.

I made the cake two days ahead and decorated the cake the day before the party. I decided for the party to do a mix of Thomas, train, vehicles and robot type things to pad out the theme.
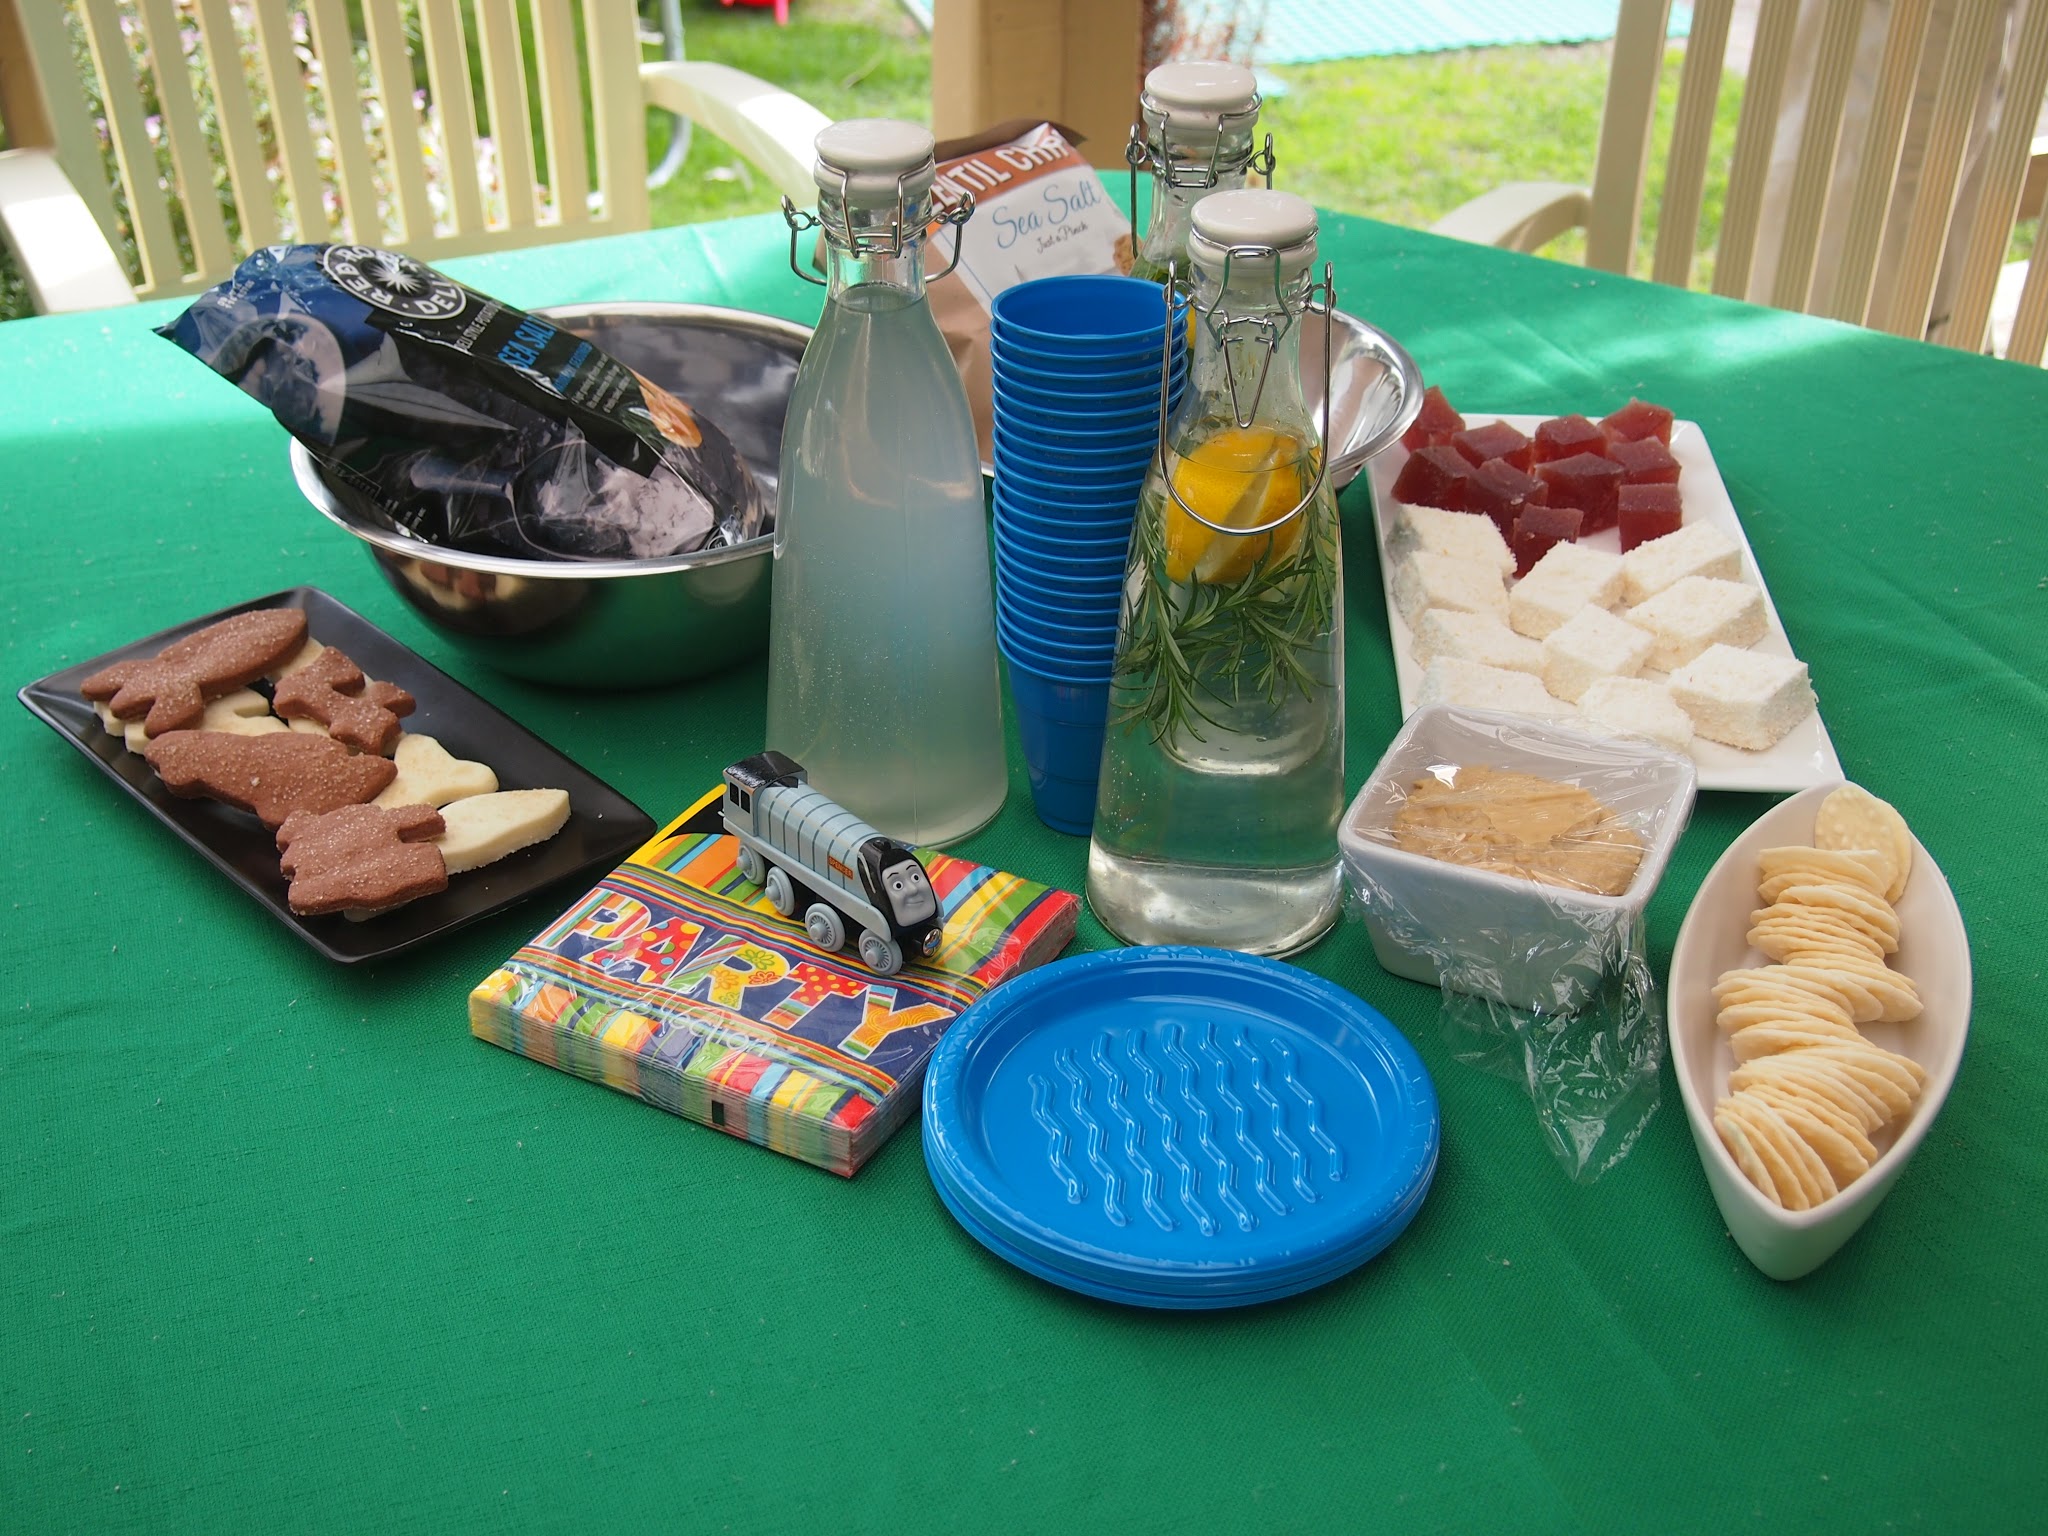

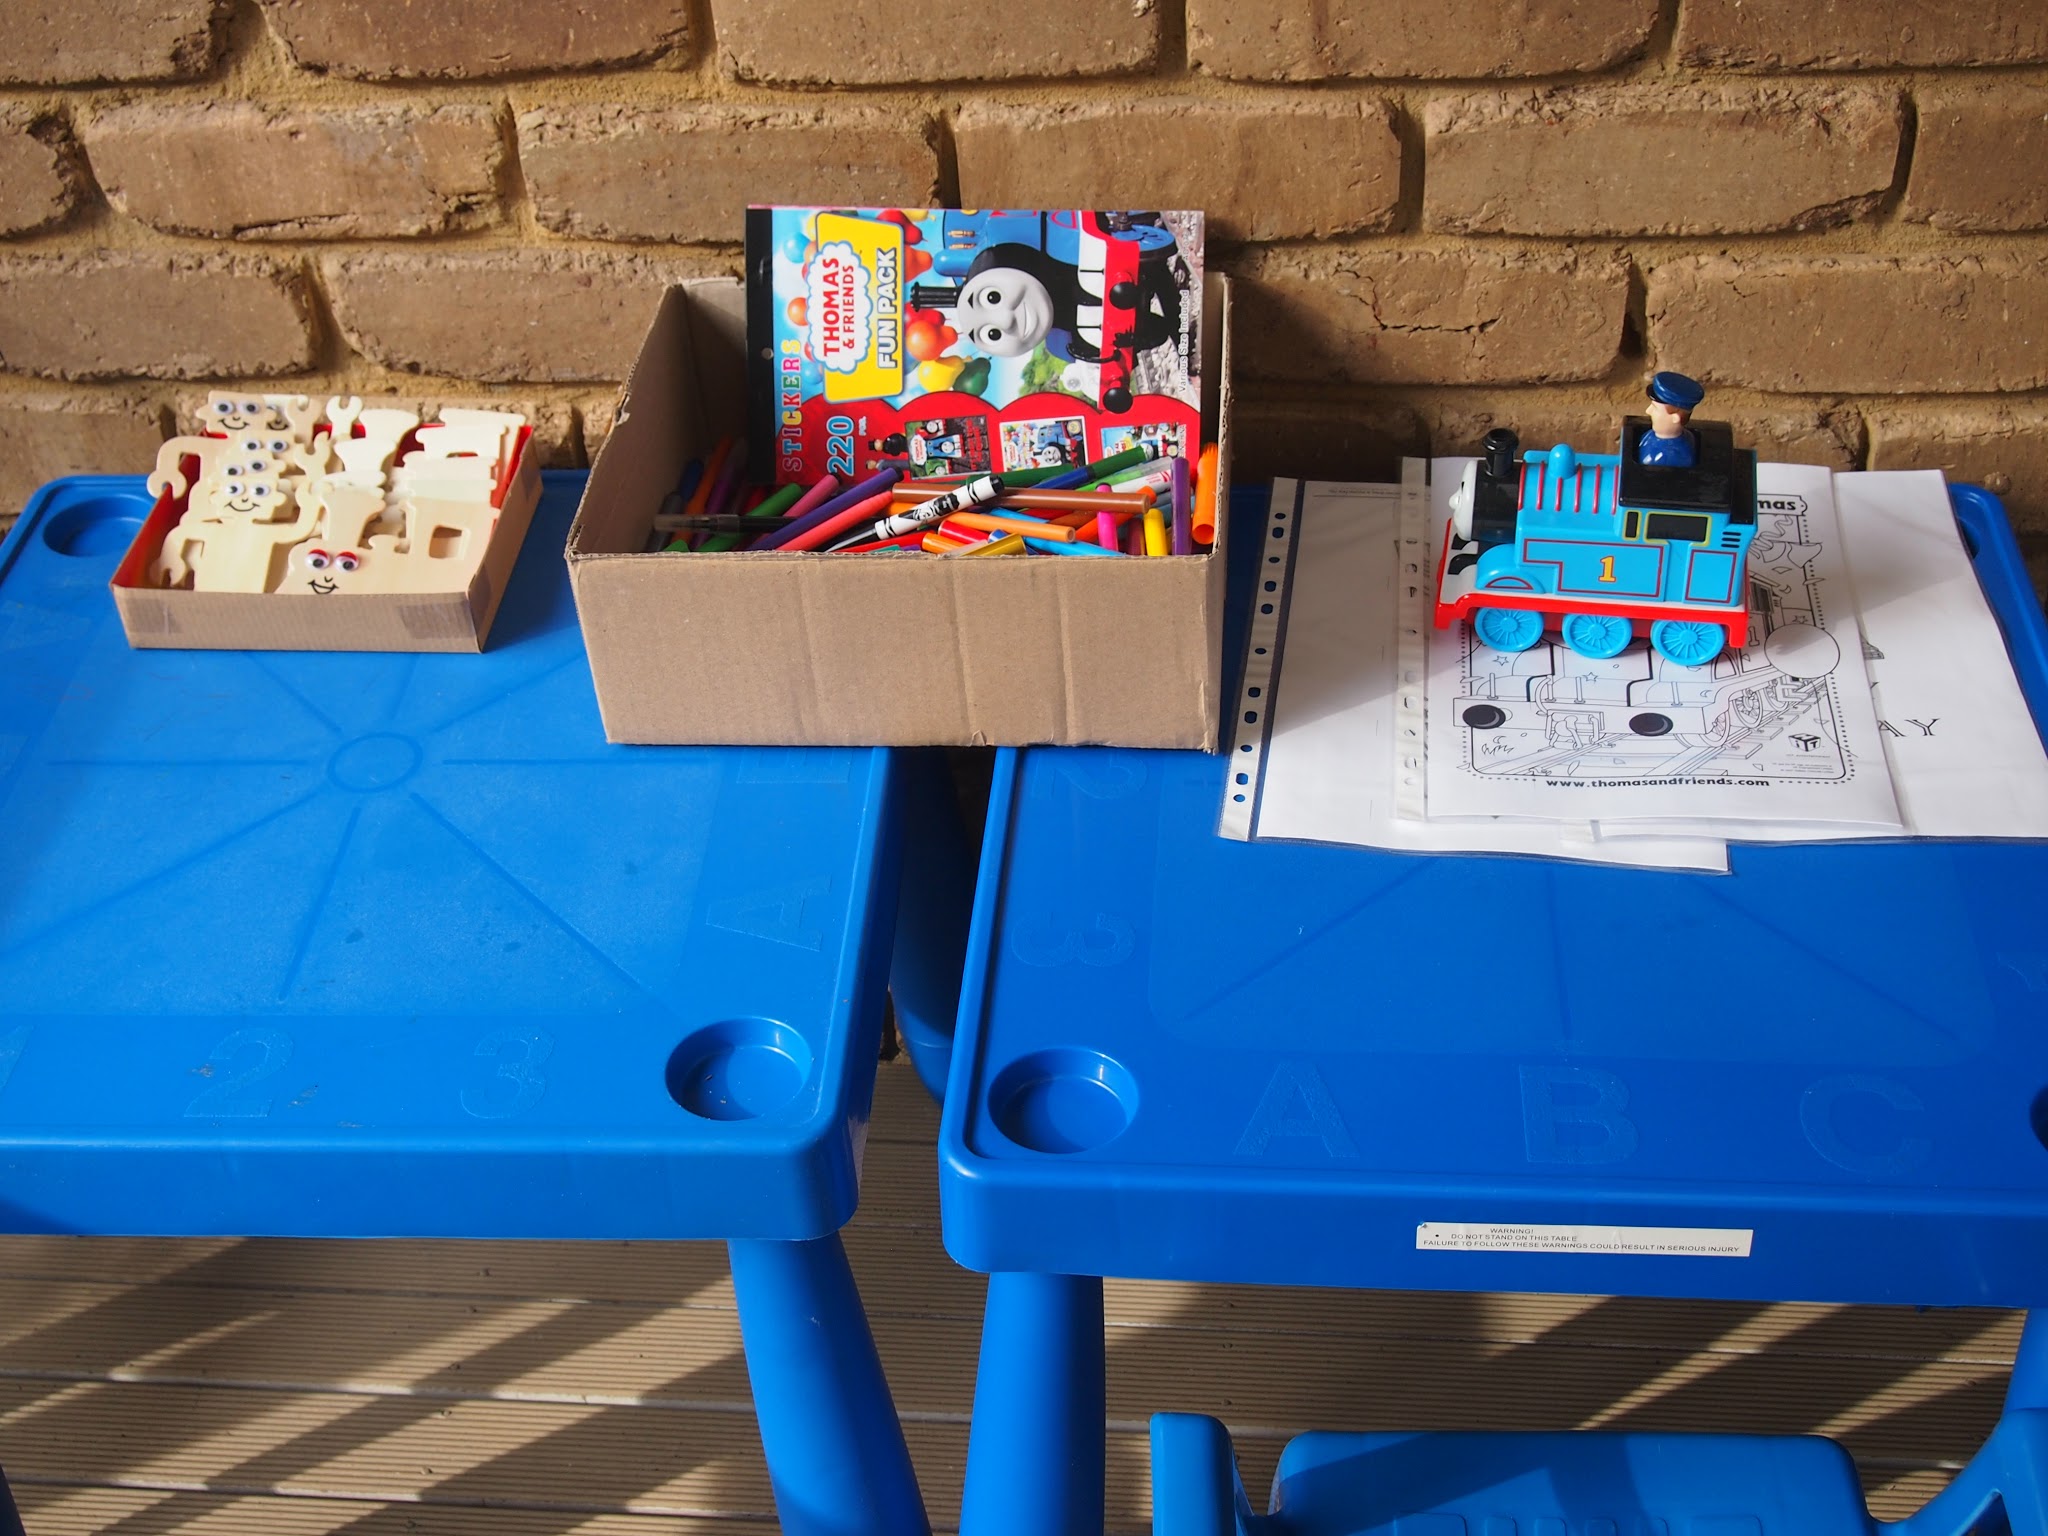
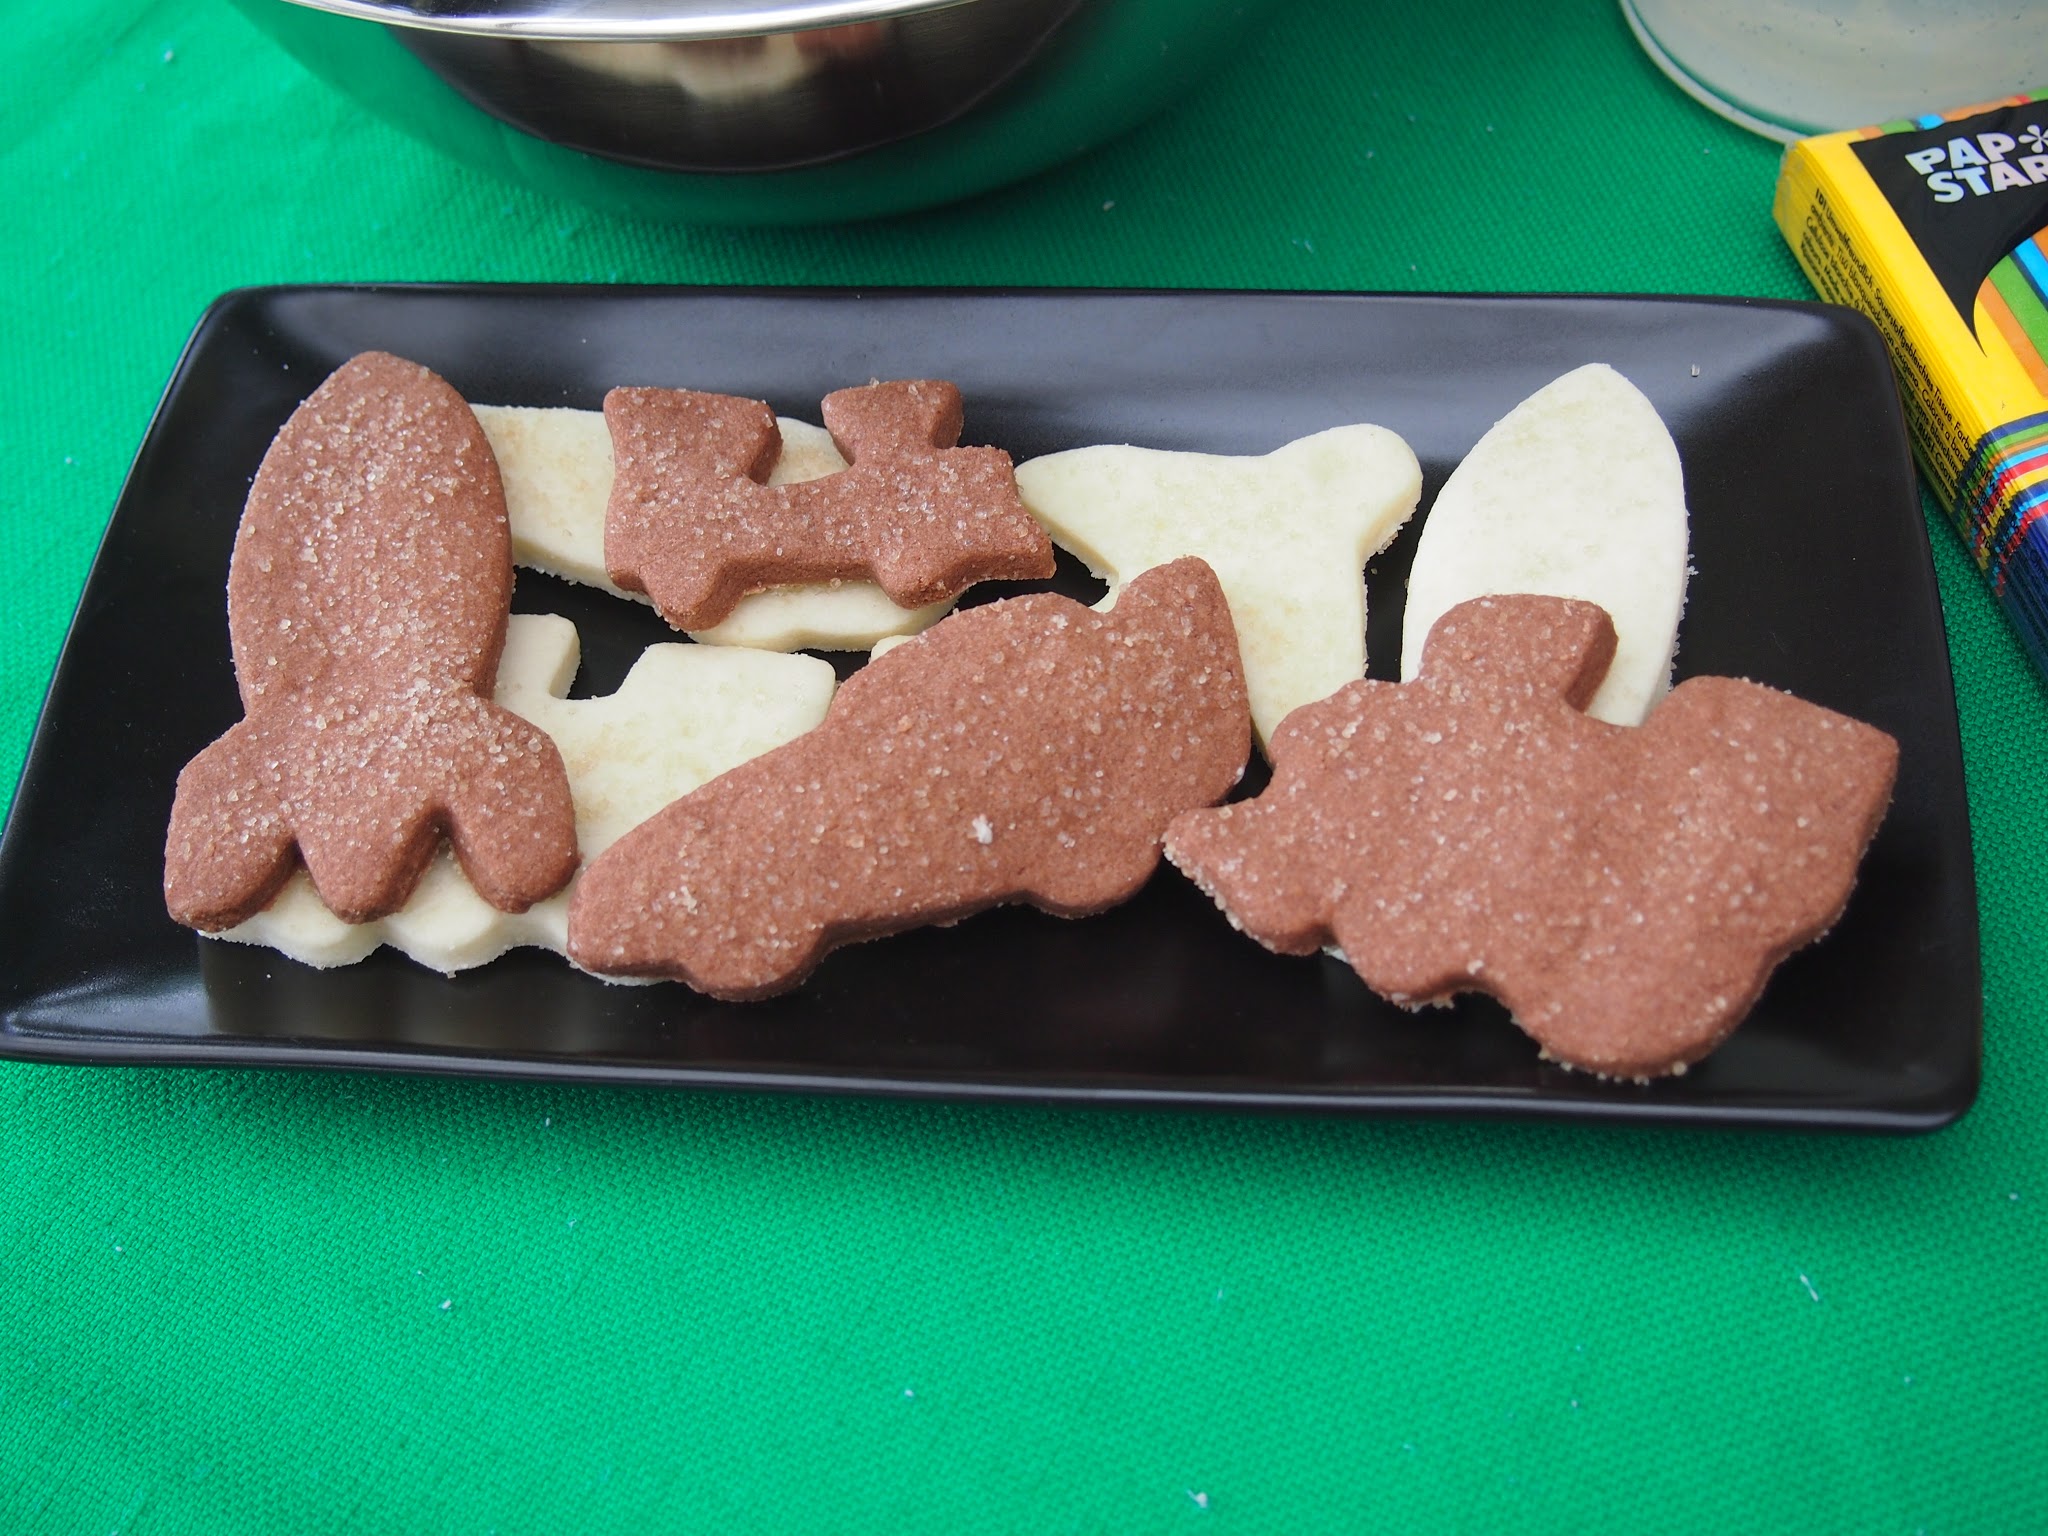
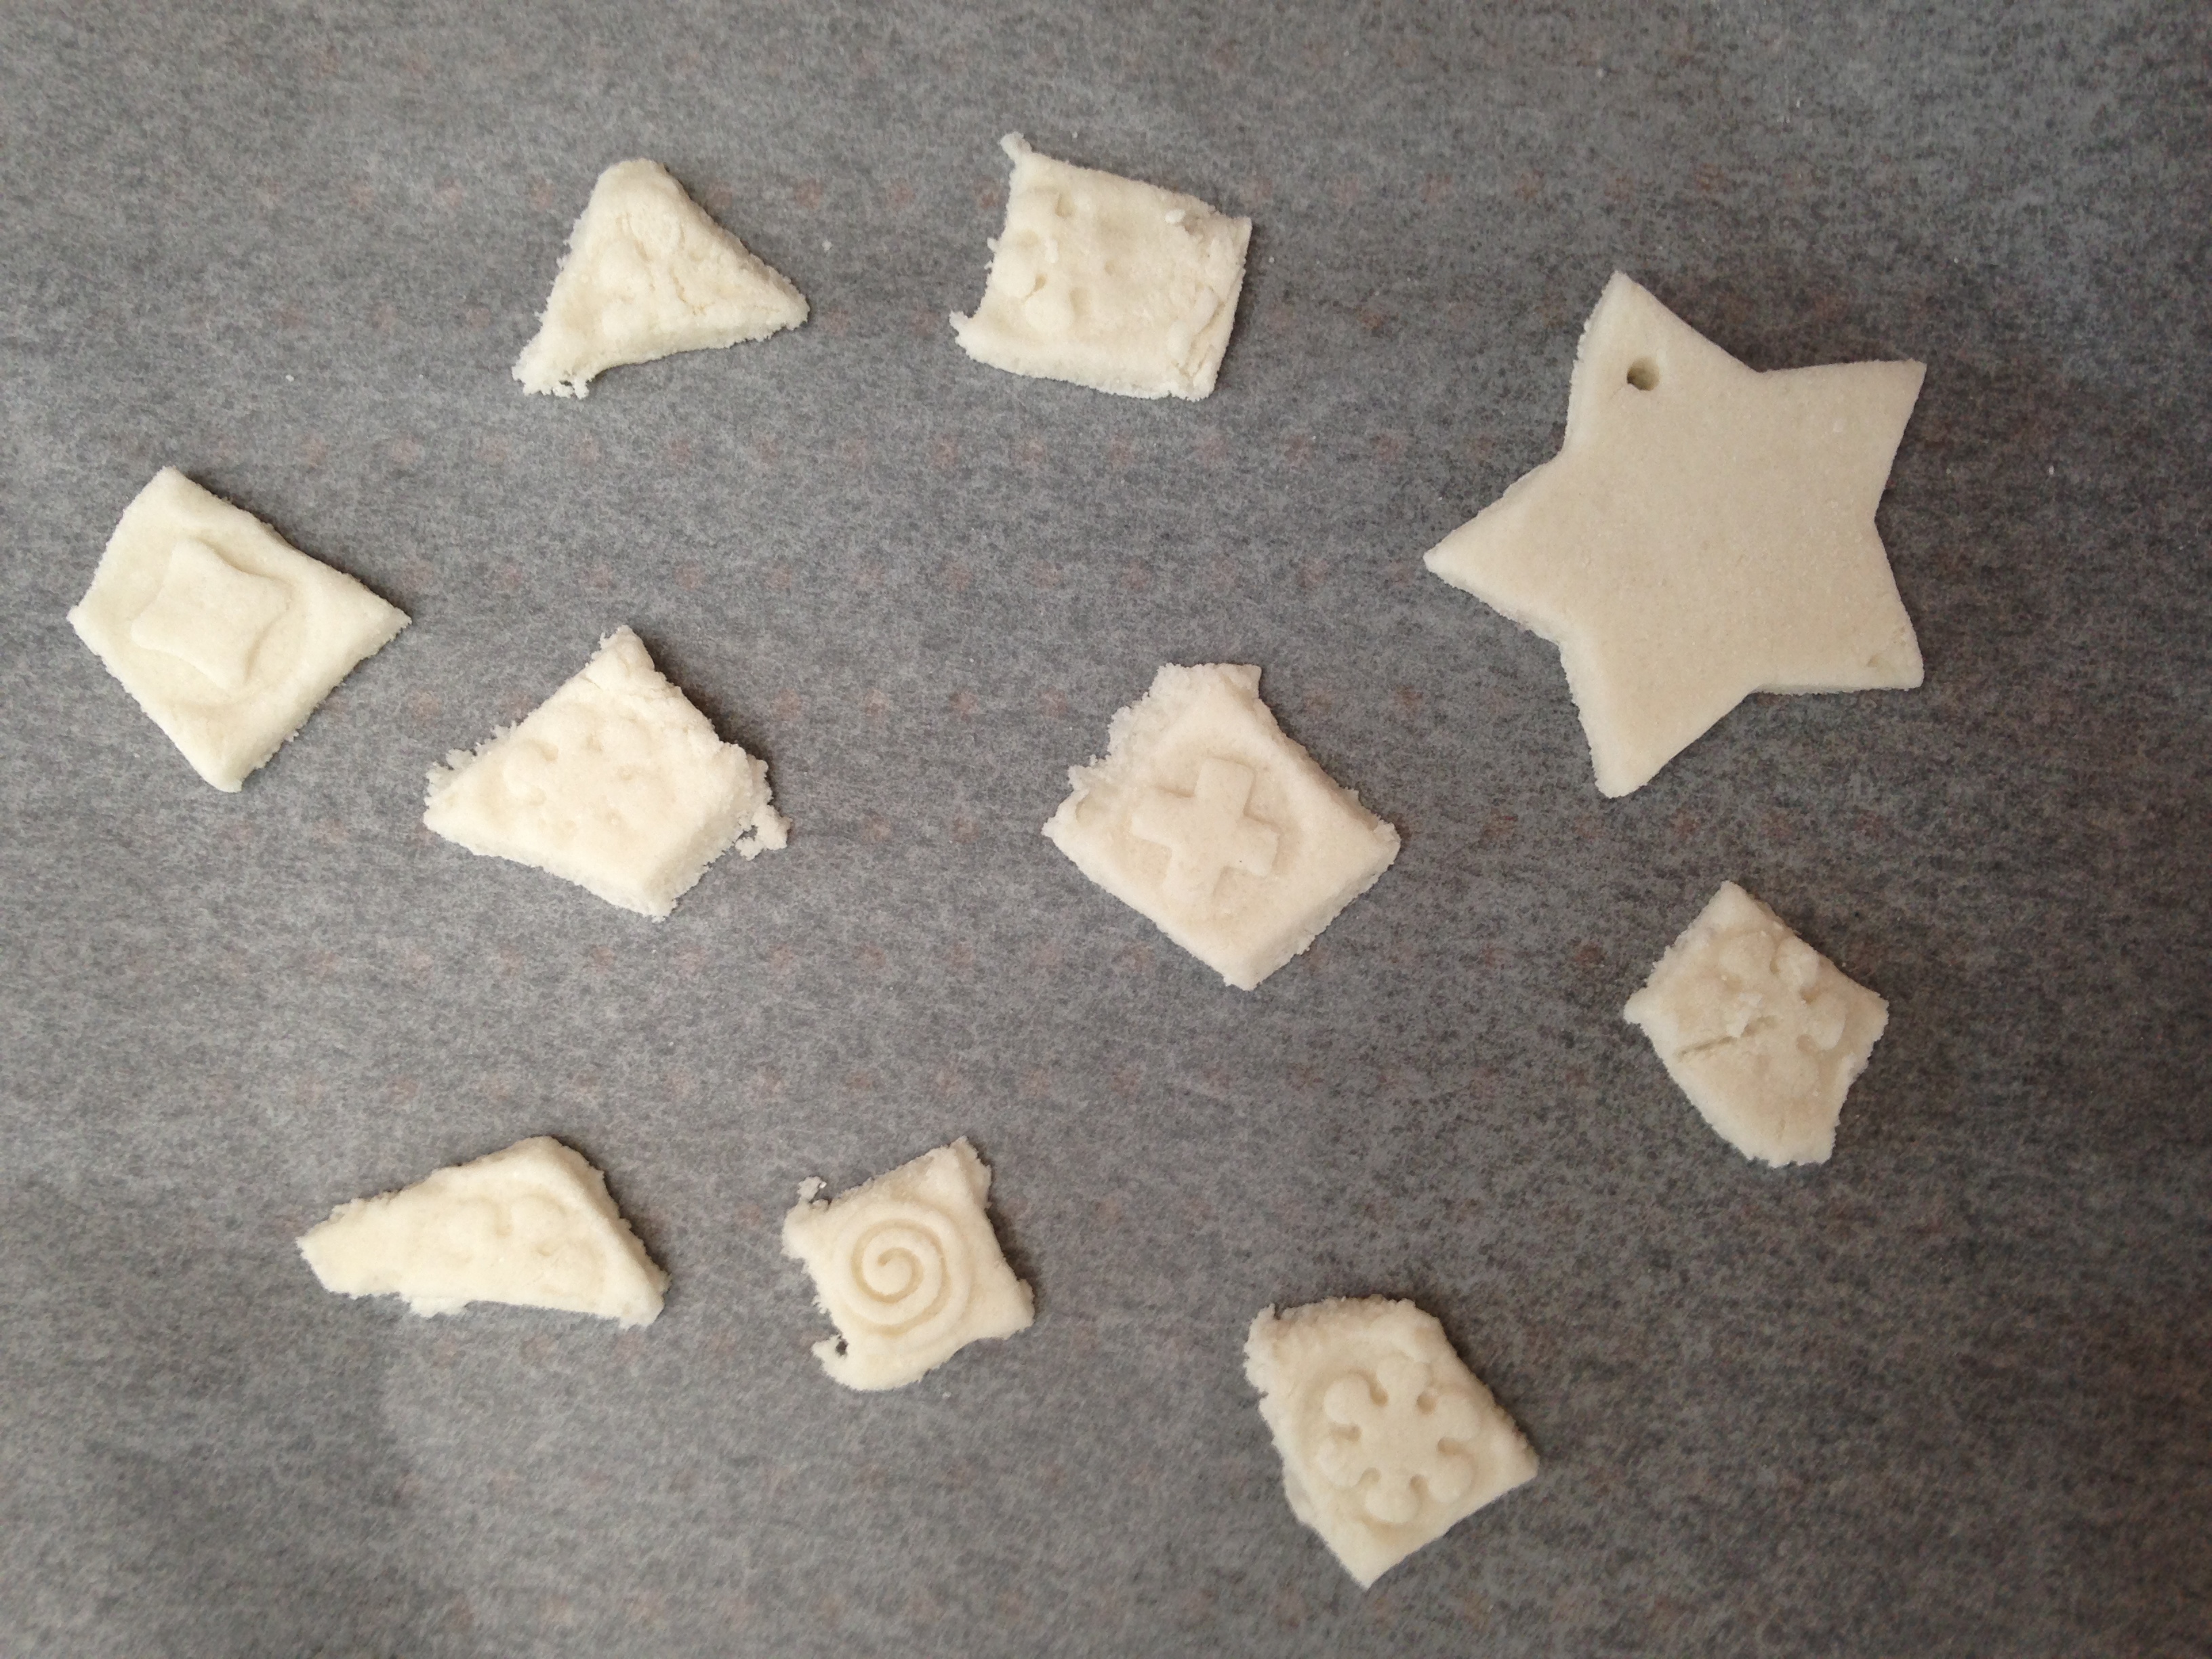
I used a train-shaped biscuit cutter to make shortbread and chocolate shortbread biscuits, as well as melon trains cut from watermelon and rockmelon. I used lots of primary colours for decorating, as these colours match both the Thomas and Transformers themes. I made a craft area with wooden robots and trains to decorate, colouring in pictures that were both Thomas and Transformers themed, and stickers for decorating.

Birthday Cake Recipe
Ingredients:
- 440g white rice flour
- 220g tapioca/arrowroot flour
- 10 Tbs Cacao powder
- 440g caster sugar
- 3 tsp bicarb soda
- 2 tsp guar gum
- 580ml rice milk (or other suitable milk)
- 220g margarine, I used nuttelex (melted)
- 2 tsp vanilla bean paste
Method:
- Line and spray oil a deep round spring base tin (I used rice bran oil)
- Sift together in a large bowl the flour, cacao, guar gum, and bicarb
- Stir in the sugar
- In a separate bowl, mix together the milk, melted margarine, and vanilla
- Gently fold and mix the wet ingredients into the dry ingredients. Mix gently until well combined. If you think the mixture is too dry add more milk or melted margarine until it is a cake batter consistency (I find different milks and flours absorb differently)
- Pour into the prepared cake tin and bake for 40-50 minutes, or until a wooden sewer comes out clean
- Cool in the cake tin
- I turned the cake upside-down and stored in a cake box until it was time to decorate
Buttercream Icing
Ingredients:
- 155g margarine
- 90g icing sugar or icing sugar mixture- sifted. Most icing sugars in Australia are suitable but I have only found ‘Bundaberg Icing Sugar Mixture’ to be top 8 & corn free
Method:
- Add all the ingredients into a mixing bowl and mix until smooth
Fondant Icing
Ingredients:
- 4 ½ cups of icing sugar or icing sugar mixture- sifted. Most icing sugars in Australia are suitable but I have only found ‘Bundaberg Icing Sugar Mixture’ to be top 8 & corn free
- 1 level tsp gelatine
- 2 Tbs golden syrup or honey
- ¼ cup boiling water
- Vanilla paste to flavour (if desired)
- Food dyes to colour (I used Hopper food dyes) http://www.hopperfoods.com.au/Products/NaturalColours.aspx
- Extra sifted icing sugar to use when kneading
Method:
- Sift icing sugar into a medium sized mixing bowl
- Dissolve gelatine in the boiling water, add golden syrup and stir
- Add wet mixture to the icing sugar
- I sifted extra icing sugar onto a plastic chopping board and then kneaded the fondant and added the colourings slowly during the kneading process until the desired colour was achieved. Because Hopper dyes are natural and chemical free the colours are different to commercial dyes. I did a test run and divided the mixture into four portions and did a test dye to decide what colours I would work with.
- Fondant can be stored wrapped in baking paper in zip-lock plastic bags at room temperature (I covered them with icing sugar before wrapping them to store).
- When ready to roll and decorate knead again on a mat with icing sugar (to prevent sticking). Use to decorate as you would regular fondant
Putting the cake together
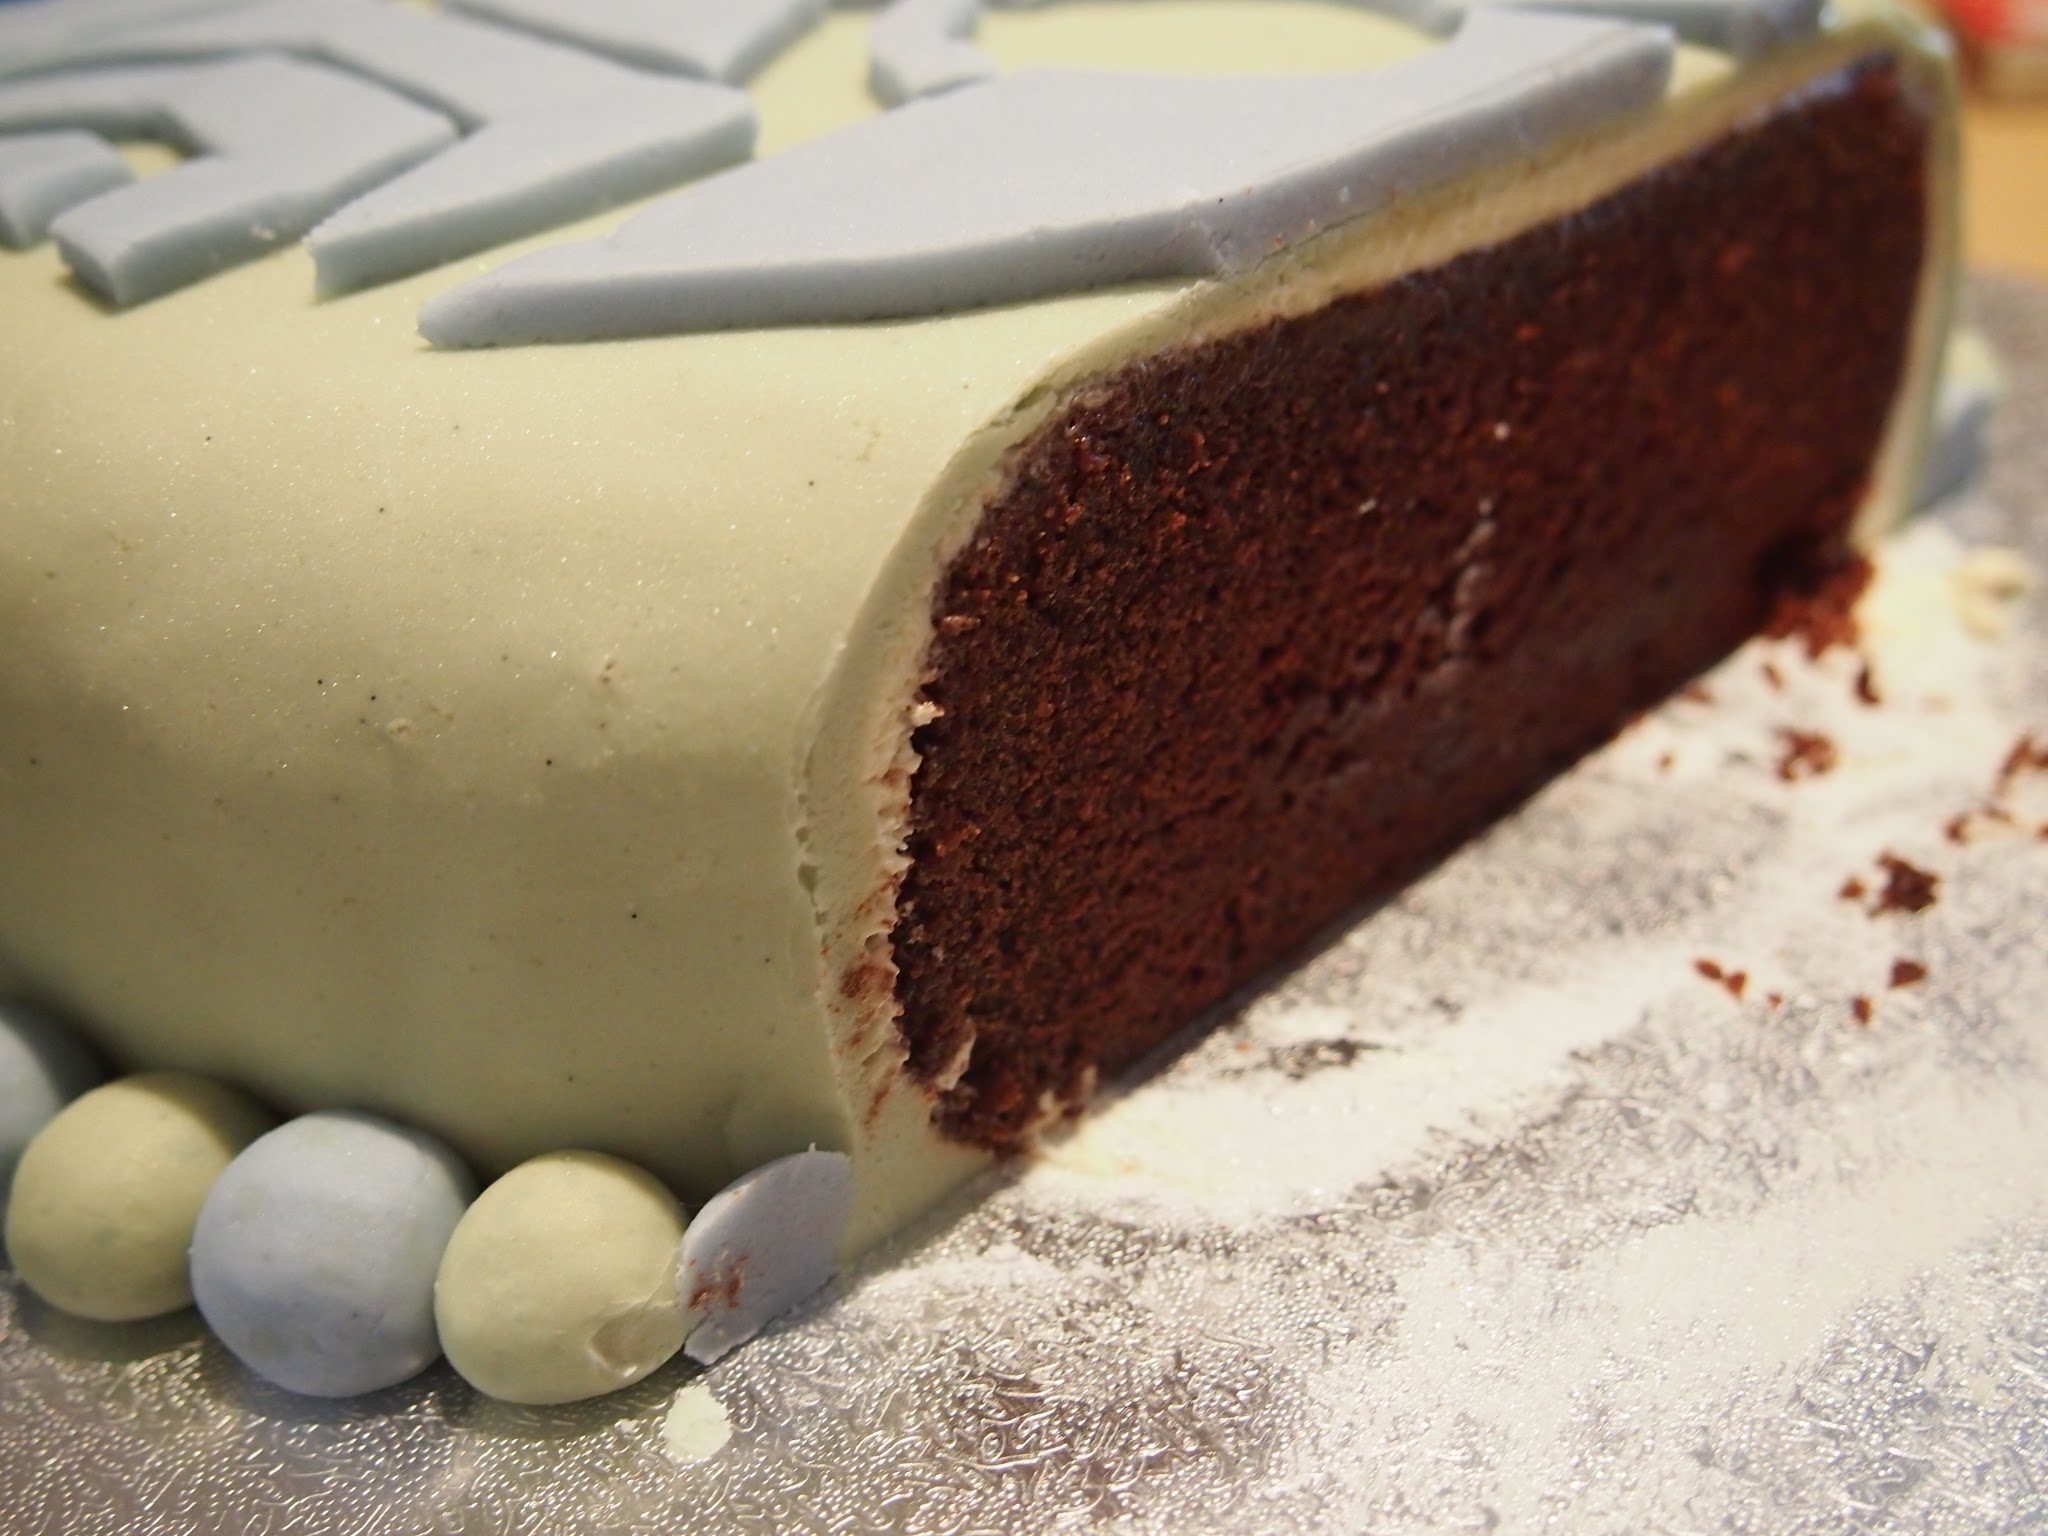
I covered the cake with a layer of buttercream, then froze the cake to get the buttercream to set. I then rolled out the green fondant into a large circle and covered the cake, trimming the edges and smoothing the fondant until I was happy. I made a stencil of the Trainsformers symbol and cut it out of baking paper. I rolled out the blue fondant and cut the stencil shapes out. I kept a master copy of the design so I would know where to place the shapes. I arranged the shapes to make the symbol. To finish the cake I made lots of little balls of fondant and arranged them around the base of the cake, alternating blue and green the whole way around.
I was really pleased that the cake was adored by the birthday boy! Young and old said it was delicious and the mini balls were a big hit with the kids. I sent some home in party bags and we got to enjoy it for a few days after the party as well.