Bangers & Mash

photo (33)

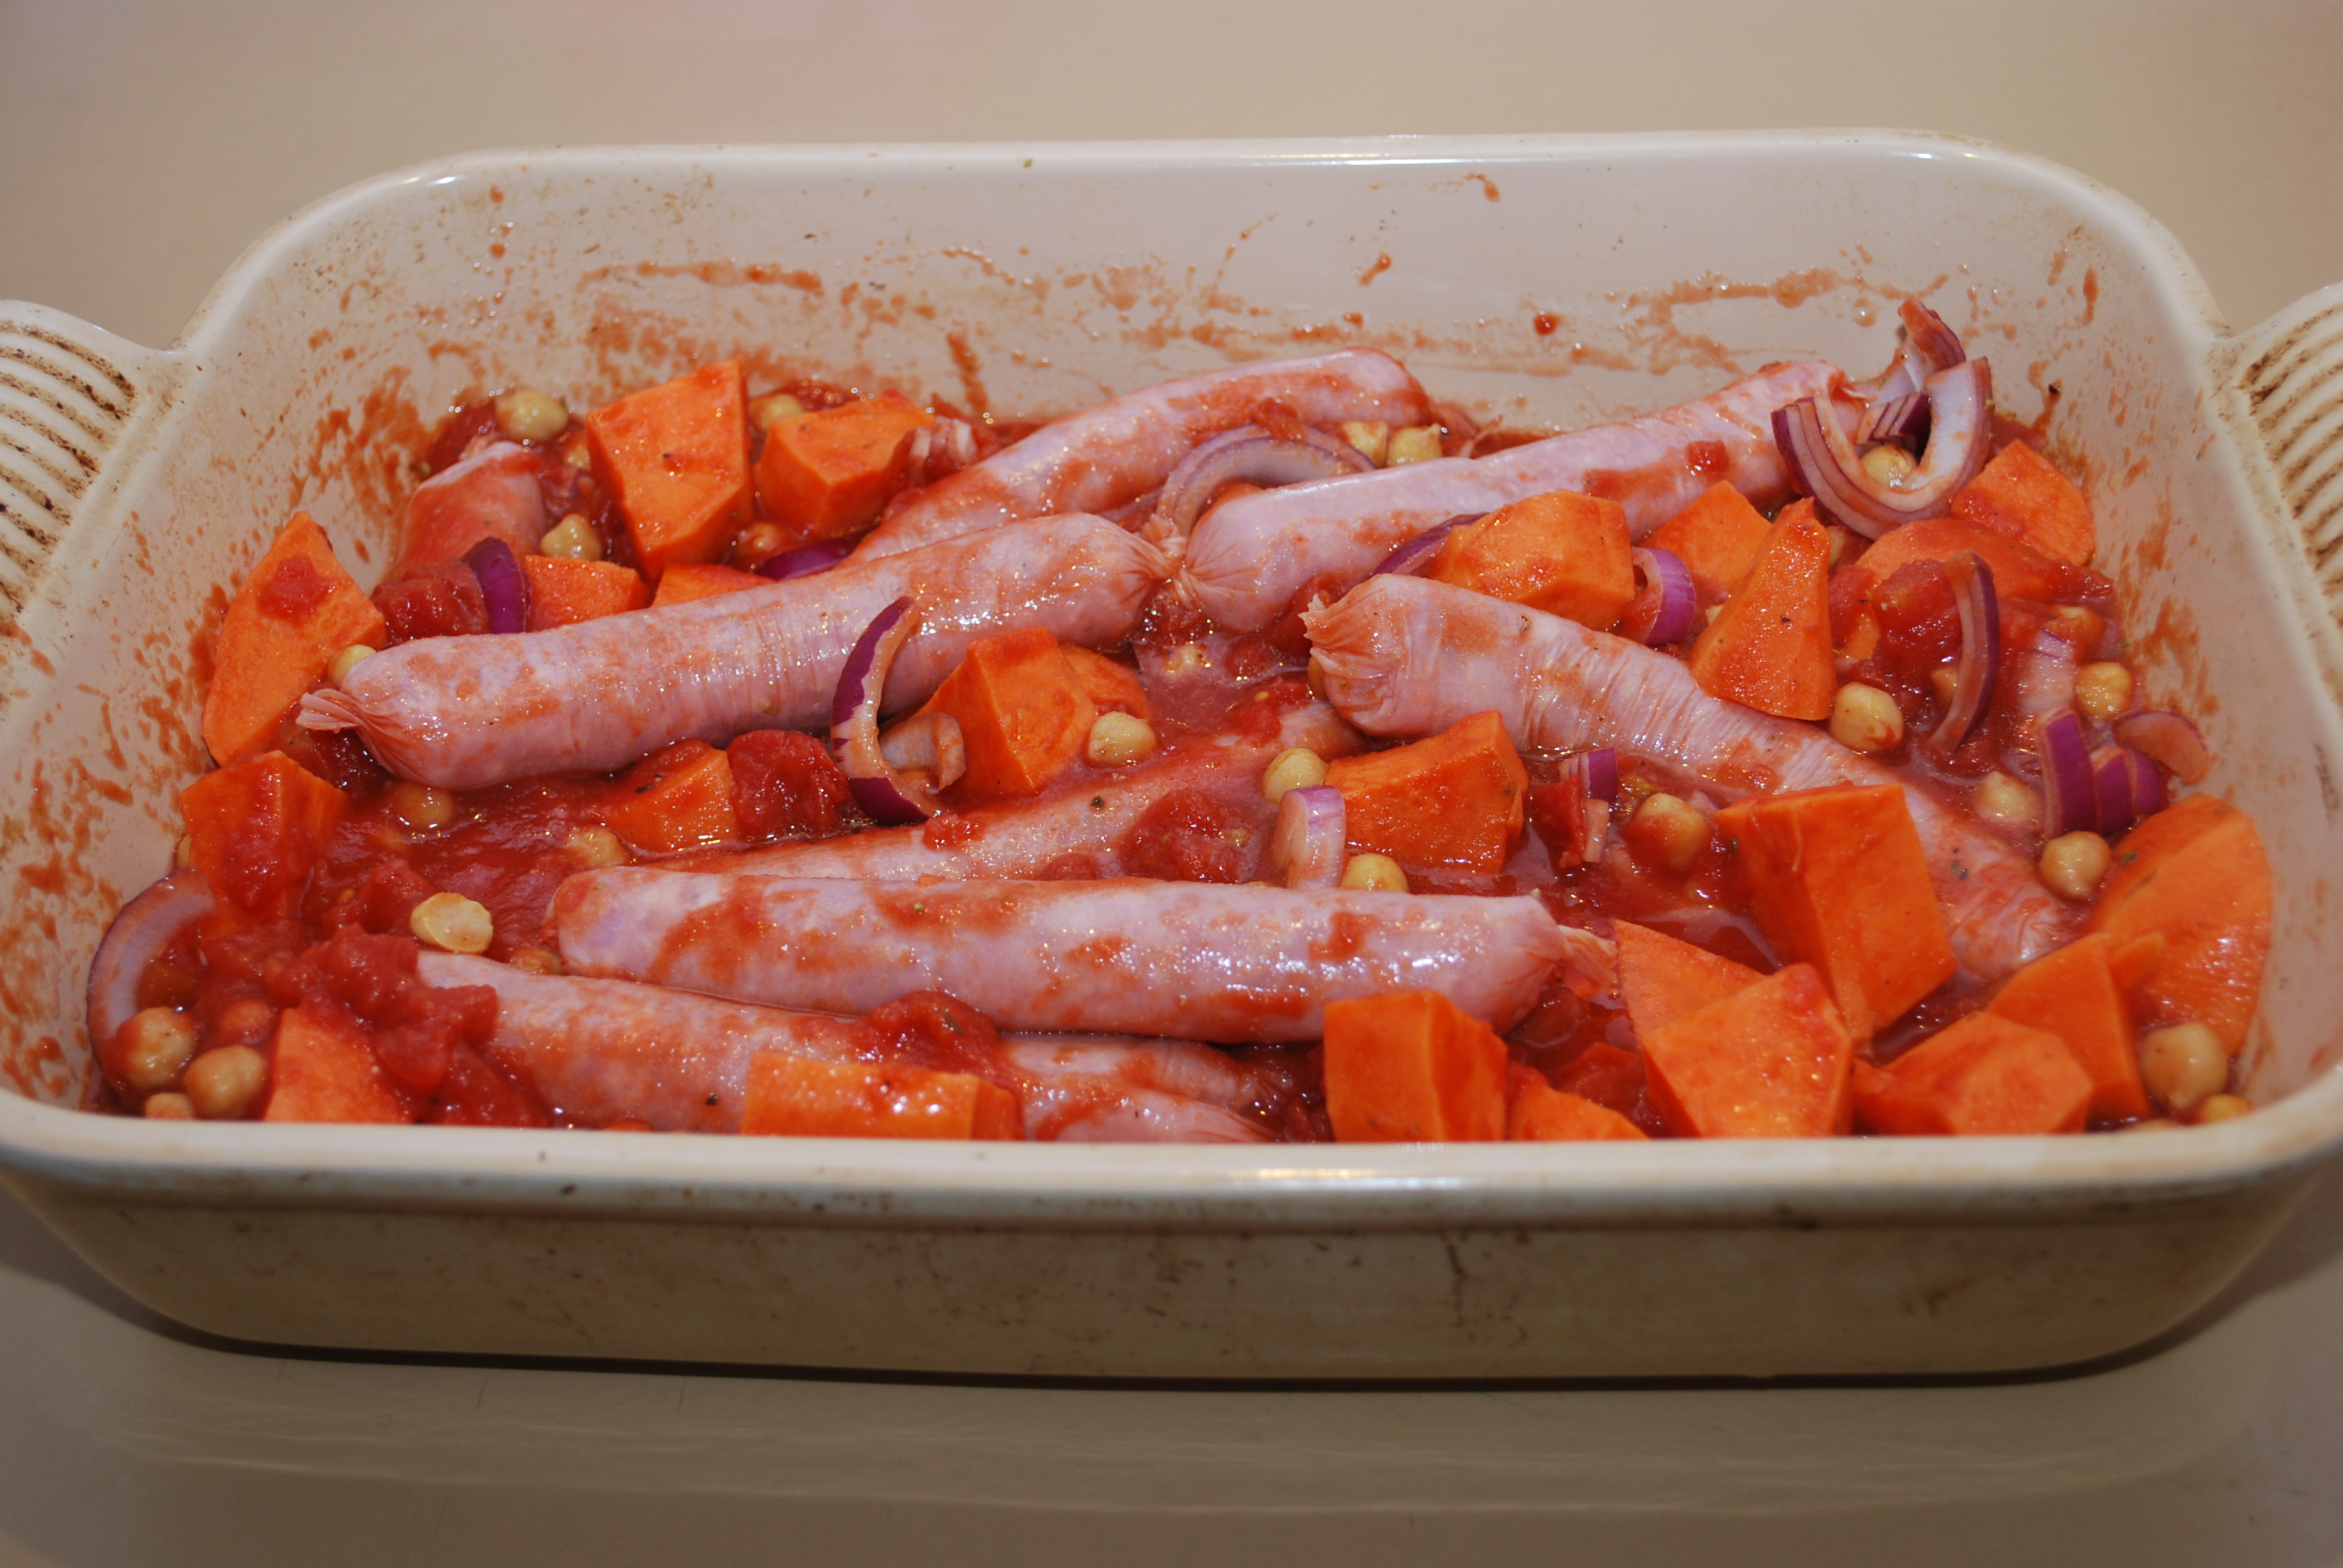
I developed this recipe for my husband, who is English, and my daughter, who loves sausages and is very proud of being half English! My daughter thinks no sausages are good enough for her to eat unless they are PORK.  This recipe serves 4 people.

Ingredients:

  • 8 Pork Sausages (you could use beef, chicken or even turkey sausages)
  • 1 kg of potatoes
  • 2 Tbs Sunflower oil
  • 2 Tbs Margarine
  • 1 brown onion
  • 1 tsp caster sugar
  • 1 tsp balsamic vinegar or apple cider vinegar (or any vinegar suitable to your dietary needs)
  • 700 ml stock (I use my bone broth recipe, you could use chicken, lamb or beef broth)
  • 4 tsp tapioca/arrowroot flour
  • 4 tsp cold water
  • Salt and pepper (I use Himalayan salt)
  • Rice milk and margarine to add to the mash potatoes to make them yummy and creamy
  • Frozen peas (enough for 4 people)

Method:

  1. Cook the sausages until cooked through and lovely and brown. I cooked them in an electric frying pan with baking paper under them. When the sausages were finished I just lifted them in the baking paper into a baking casserole dish and put them in the oven (180  degrees Celsius) to keep them warm.
  2. Peel and chop the potatoes and cook them ready to mash (I cooked them in the microwave)
  3. I then put the amount of peas I wanted into a microwave dish and covered them in water so they were ready to steam at the last minute before serving
  4. The gravy sauce is a bit more involved but so yummy and makes this dish like proper Bangers & Mash. Start by chopping the onion in half and then into crescents. Melt the margarine and oil together in a large saucepan. Add the onion and stir. Cover with a lid and cook slowly over a gentle heat for 10 minutes (onion should be translucent when cooked). Add the sugar and vinegar and stir well. Cover and cook for 5 minutes. Add the stock and cook uncovered for 5 minutes. In a heatproof dish or jug mix the flour and cold water into a paste and then add a few large spoons of the hot gravy mixture. Once combined pour the flour mixture into the saucepan with gravy and stir well. Heat on high heat and boil for 10 minutes to thicken the gravy.
  5. Meanwhile, drain and mash the potatoes and add a dollop of margarine and mash together. Then add the rice milk until to turns into the creamy mash consistency you desire.
  6. Quickly steam the peas and drain.
  7. Plate the sausages, mash and peas; then pour the gravy sauce over it all to serve.

If you give this recipe a try please let me know how it turns out. I’m happy to troubleshoot or discuss how you could substitute these ingredients if some of the ones I’ve used aren’t suitable for your family’s sensitivities. I can be contacted through this blog or via email: freefromfamily@gmail.com

Advertisement

Oriental Honey & Lemon Chicken

photo (31) photo (32)

We have been missing Chinese and Thai foods so I decided to create our own Honey & Lemon Chicken. I thought it would be nice served with coconut rice and some Chinese style vegetables. My husband has reserved the left-overs for him and wants it again asap! This quantity serves 4 people.

Ingredients:

  • 8 chicken legs or thighs
  • 2-3 Tbs honey
  • The rind and juice of 1 lemon (medium to large sized lemons)
  • 3-4 Tbs Olive oil
  • Salt & Pepper to taste (I use Himalayan Salt)
  • 1 cup Basmati Rice
  • 1 tin of coconut milk (400ml)
  • Extra water if needed to cook the rice
  • 2 Florets of Buk Choy

Method:

  1. Preheat the oven to 180 degrees Celsius (fan forced)
  2. Spray oil the baking dish (I used rice bran oil)
  3. Place the chicken pieces in the dish
  4. Mix up the marinade in a bowl and stir together (honey, olive oil, lemon & rind, and salt & pepper)
  5. Pour the well mixed marinade over the chicken
  6. bake for 45minutes-1 hour (I turned them about 3 times throughout the cooking)
  7. About 20 minutes before the chicken will be ready get the rice and vegetables organised
  8. I cooked the rice using the absorption method using the rice milk and some extra water. I then rinsed the rice using boiling water before draining and serving (this gave the rice a hint of coconut milk but it wasn’t overpowering
  9. I chopped the Buk Choy and steamed it lightly
  10. To serve plate the meat, rice and vegetables; then drizzle the remaining sauce from the baking dish over the meal before serving (the flavours of the sauce work well with the meat, rice and vegetables!)

If you give this recipe a try please let me know how it turns out. I’m happy to troubleshoot or discuss how you could substitute these ingredients if some of the ones I’ve used aren’t suitable for your family’s sensitivities. I can be contacted through this blog or via email freefromfamily@gmail.com

Muesli

photo (30)

When my children had corn eliminated from their diet, basically all breakfast cereals went with it. My daughter used to love cereal but it has taken me a long time to find suitable cereals for them to have again. I have managed to find a safe puffed rice and crunchy rice flakes. Since I mixed up this muesli I have even found safe sunflower seeds and pepitas!!! Adding the seeds to the mix is a great way of adding protein to breakfast cereal. Also, since my Easter Hot Cross Bun post I have found some safe sultanas that my daughter doesn’t react to – it’s all progress and exciting. This can be a breakfast or a great afternoon snack to keep the kids, and grown ups, going.

Ingredients:

  • Puffed rice (in Australia the brand I use is Nature First Organic)
  • Crunchy rice flakes (in Australia the brand I use is Nature First Premium)
  • Sultanas and/or other dried fruits (in Australia the brand I use is Woolworths Select  Aussie Sultanas)
  • Sunflower seeds and pepitas [pumpkin kernels] (in Australia the brand I use is Coles own brand from the health section range)
  • Honey, golden syrup, or maple syrup
  • Banana (or other fresh fruits)
  • Suitable milk (we used Rice Milk)

Method:

  1. Decide on the quantity you are mixing up; if it is just a bowl to serve straight away or a week’s worth for the family
  2. In a mixing bowl (or the bowl you are serving in), add equal parts of puffed rice and crunchy rice flakes (this makes up the base of the cereal. So, you could either combine two whole packets, add a cup of each or just add a bit of both to the bowl you are about to serve.
  3. I then add the sultanas to make a nice amount through the dried muesli. Next time, I will try the sunflower seeds and maybe pepitas at this stage as well. You can add anything you think will work for your dietary requirements.
  4. To serve I chop a ripe banana over the muesli, drizzle with honey, and add milk.

If you give this recipe a try please let me know how it turns out. I’m happy to troubleshoot or discuss how you could substitute these ingredients if some of the ones I’ve used aren’t suitable for your family’s sensitivities.

Roast Chicken – French Country Style

DSC_0965 (7) DSC_0970 (5)

I love two things about this meal. Firstly, it is very rustic and reminds me of a wonderful French summer I shared with some dear French friends in Brittany. Secondly, it is so quick and simple! I can’t remember where I read about putting a lemon inside the cavity of the chicken when roasting, but since I have tried it, I have never roasted a chicken any other way. The lemon makes the chicken deliciously succulent and flavoursome. We have this meal weekly, and I can then make a weekly batch of our chicken bone broth.

Ingredients:

  • 1 whole chicken
  • 1 lemon (holes pricked with a sharp knife all around the lemon – this allows the flavour to be released)
  • Margarine
  • Spray oil (I used rice-bran oil)
  • Salt & pepper (I use Himalayan salt)
  • Fresh herbs (I used rosemary, sage & tarragon)
  • Mixed root vegetables (I used carrots, potatoes, sweet potatoes and butternut pumpkin)
  • 1 brown onion
  • 4 cloves of garlic – crushed
  • Your choice of a side of green vegetables to serve (peas, green beans, broccoli, buk choy, etc)

Method:

  1. Pre-heat oven to 180 degrees Celsius
  2. Spray the roasting tin or casserole with oil
  3. Insert the pre-picked lemon into the chest cavity of the chicken and fold the skin over the opening to secure the lemon
  4. Place chicken in the middle of the casserole dish
  5. Place chunks of margarine over the chicken (see first picture – I used 5 chunks)
  6. Salt and pepper the chicken
  7. Chop the root vegetables and arrange around the chicken
  8. Chop onion into crescents and arrange with the root vegetables
  9. Add garlic to the casserole
  10. Spray vegetables with spray oil
  11. Sprinkle herbs, salt & pepper over the vegetables
  12. Roast in oven for 1 1/2hrs – 2hrs
  13. Serve with a side of steamed green vegetables. I cover the chicken with any juices from the casserole
  14. After the meal I strip the chicken carcass and use any leftover chicken and/or roasted vegetables to make sushi, or add to salads, etc. I then use the carcass and any leftover onion and garlic pieces to add to my bone broth (see previous recipe)

If you give this recipe a try please let me know how it turns out. I’m happy to troubleshoot or discuss how you could substitute these ingredients if some of the ones I’ve used aren’t suitable for your family’s sensitivities.

Sausage Casserole

DSC_0977 (4) DSC_0983 (3)

This is one of my favourite meals . It is so quick and hearty and makes great left-overs in a salad or as a spare ready meal. I used to add a splash of balsamic vinegar to it but now leave that out for my very sensitive children- you could easily add some when you splash the olive oil over the casserole before it goes in the oven.

Ingredients:

  • 6-10 Sausages (whatever sausages suit your diet)
  • 1 can of chick peas (rinsed and drained) [I buy organic with no preservatives]
  • 1 can of chopped tomatoes [I buy organic with no preservatives]
  • 1 red onion chopped into moon crescents
  • 3 cloves of garlic – crushed
  • 2 sweet potatoes [chopped into rough 2cm cubes and pre-steamed]
  • Salt  & pepper to taste [I use Himalayan salt]
  • A sprinkle of dried herbs of your choice [I used Oregano]
  • A splash of olive oil over the dish once assembled
  • Baby leaf spinach
  • Basmati rice

Method:

  1. Pre-heat oven to 180 degrees Celsius
  2. Spray the casserole dish with a spray oil [I used rice-bran oil]
  3. Separate sausages and place in the casserole
  4. Add to the casserole: chopped tomato, chick peas, sweet potato, onion, garlic, salt, pepper, dried herbs and olive oil.
  5. Mix together and place in the oven for 45 min-1 hour
  6. Cook rice
  7. Serve the casserole on a bed of rice and baby spinach leaves

If you give this recipe a try please let me know how it turns out. I’m happy to troubleshoot or discuss how you could substitute these ingredients if some of the ones I’ve used aren’t suitable for your family’s sensitivities.

BBQ Glazed Drumsticks & Quinoa Salad

photo 1 (3) photo 2 (3)                                                                                                                                     photo 3 (2)

So, it’s still midweek and I wanted to mix things up a bit and try something new… but I wanted it to be quick and easy. I decided to use my BBQ sauce (from a previous blog post) as a glaze and then made up a quinoa salad that I thought would work alongside it – et voila! My husband was a bit surprised to come home to such a delicious looking meal that was totally new. We were pleasantly surprised with how yummy it was and this will definitely become one of our regular go-to meals.

This Quantity serves 4 people

Ingredients:

  • Chicken legs (8-10)
  • BBQ sauce (‘Dark Sauce’ from my blog)
  • Sweet potato (I used 4)
  • 1 cup of quinoa
  • 1/2 red capsicum
  • Several handfuls of baby spinach
  • 1-2 green apples (I used 1)
  • 1/2 cup olive oil
  • 1/4 cup apple cider vinegar
  • Salt and pepper (I use Himalayan Salt)
  • Spray oil

Method:

  1. Pre-heat oven to 180 degrees Celsius
  2. Spray a casserole dish with oil (I used rice-bran oil)
  3. Place the chicken legs in the dish and then coat them in the BBQ sauce
  4. Peel and roughly chop the sweet potato into 2cm cubes
  5. Arrange the sweet potato around the chicken legs. Spray them with the spray oil and give them a dusting of salt and pepper
  6. Bake in the oven for 45min-1 hour
  7. Meanwhile, assemble the salad and dressing so when the meat and sweet potatoes are cooked it can be dished up.
  8. For the dressing: add the olive oil, apple cider vinegar and salt and pepper to a jar and shake well. This will make more dressing than you will need. You could halve the amount if you wanted to; I like to make up a jar of it so I can keep it in the fridge for my next salads during the week.
  9. For the salad: cover the base of a salad bowl in baby spinach leaves. Add the red capsicum (I sliced them length ways, then halved them). I cooked the quinoa next (I used the absorption method on the stove top and just followed the instructions on the packet). I chopped the apple just before serving and then added the quinoa and roasted sweet potatoes. Give it all a toss together and either drizzle over the salad dressing or allow people to add their own dressing.
  10. Serve the chicken legs and salad together for a light but filling meal.

If you give this recipe a try please let me know how it turns out. I’m happy to troubleshoot or discuss how you could substitute these ingredients if some of the ones I’ve used aren’t suitable for your family’s sensitivities.

A Cup of Tea and Warm Scones? Yes Please!

photo 1 (1) photo 2 (1)

I’ve been gluten free a long time now – even before we had kids. I always got very excited if we went for a coffee somewhere and they served gluten free scones – it literally made my day! I was always to afraid to make my own…but now I have no choice. If I don’t make them, then we don’t get to enjoy them together as a family. I have trialed these scones a few times now, most recently this morning when some friends came for morning tea. I didn’t get them quite right so I re-baked this afternoon and voila – they are ready to share.

Ingredients:

  • 200g white rice flour
  • 100g tapioca/arrowroot flour
  • 1 tsp guar gum
  • 1 tsp baking powder
  • 1/2 tsp salt
  • 60g margarine
  • 150ml rice milk (or whatever milk is suitable for your dietary needs)
  • 2 eggs made with egg replacer (2 tsp no-egg powder + 4 Tbs rice milk)
  • 1 tsp honey

Method:

  1. Heat oven to 200 degrees Celsius
  2. Line a baking tray with baking paper and give a light spray with oil (I used rice-bran oil)
  3. Place dry ingredients into a mixing bowl (I added the no-egg powder to the dry mix)
  4. Add margarine to the mixing bowl and rub the margarine and flour mixture through your fingers (like you would when you make shortbread). Rub until the margarine and flour mixture are fully mixed together
  5. Make a well in the middle of the dry mixture. Add the milk and honey (remembering the extra milk to make up the eggs = 4 Tbs). I don’t want to confuse you with the two different milk additions but if eggs are suitable for your family then you can add them with the milk. If eggs as not suitable, however, then add the egg replacer powder in step 3 and then add the extra milk quantity to make up the 2 eggs at this stage.
  6. Stir together and let the flour absorb the milk. It should be a light, fluffy, but slightly slopping and sticky mixture now. If you feel the mixture is too sloppy then add a Tb of rice flour at a time until it seems like a light fluffy batter (the less you stir the lighter and fluffier the scones will be)
  7. Use a tablespoon to scoop a scone sized amount of mixture out of the bowl and drop it onto the baking tray
  8. Bake for 15 minutes
  9. Cool on wire rack
  10. Serve with margarine and jam…and a cup of tea!

If you give this recipe a try please let me know how it turns out. I’m happy to troubleshoot or discuss how you could substitute these ingredients if some of the ones I’ve used aren’t suitable for your family’s sensitivities.